actions to undertake are as follows:
1 - Get background.
2 - Create new layer. (Not necessary, but I always choose separate works if I change something I need to start from scratch).
3 - Trace the route starting with one side of the cube.
4 - To complete the front to Ctrl + click paragraph 4 and 1 and bind the ends.
5 - Then select the path: Click on "Create selection from of a path "
6 - Then click the blend tool and paint the selected area with a gradient.
7 - Then the selection rule: Go to "Select / None"
8 - Then go to the tab and return routes to choose the route.
9 - Mark the left edge (bottom and top) with the Shift key pressed and move the top spot to the right. You will see the path of the second side.
10 - Select the new face drawn: To do this go to "Create selection from path"
11 - Then go to the tool mix and apply a gradient in the selected face.
12 - The following selection rule: Go to "Select / None"
13 - Again, go to the tab and return routes to choose the route.
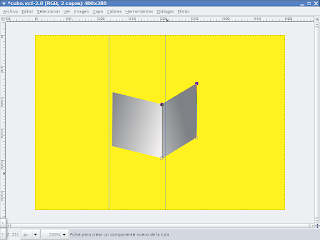
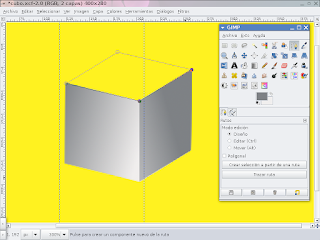
14-Mark the bottom edge of the last face drawn, with the Shift key pressed and move the lower point straight up (Go dragging).
Now you should see the path to the upper face of the cube (above).
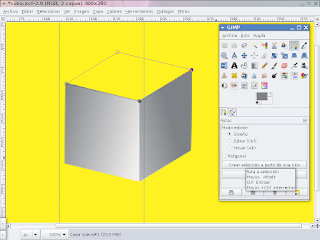
15-Select the third face drawn: To do this go to "Create selection from path"
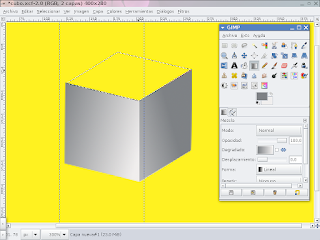
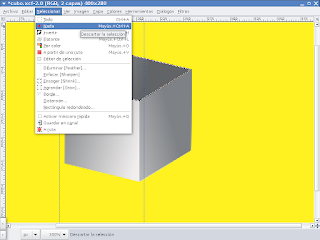
17 - Finally the selection rule: Go to "Select / None".
Finally you can see the cube formed.
With a little practice will most likely provided the cube.
With this work I have known other applications or uses of the Path tool.
Greetings to anyone reading this post. Ah ... I like to hear your comments!
We exercising.


0 comments:
Post a Comment