Saturday, April 10, 2010

How To Make A Fleece Tie Scarves

TIDSL103 - Playing with the tools: stars and polygons - spirals

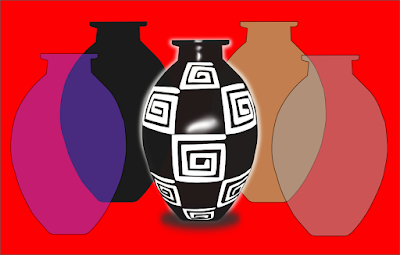
These are the figures that I made with the tool " create stars and polygons." To give them different ways variƩ values: corner radius length and roundness displayed on the tool bar. Then I painted them. The observed down in the middle, I painted choosing among the possibilities that the square that says " pattern" window fill and stroke.

Then it occurred to me to place an image in the center and turned to the advice we gave Ana to use a piece of a given image.

who view the right (picture below) is the image I chose to draw from it only apple. The left is the one made, with Inkscape.


remember the steps: Insert
  1. the image. Keep it
  2. selected and go to Object / Pattern / Pattern Objects
  3. Make a rectangle with the tool Draw Bezier curves and straight line s .
  4. Select it with the cursor and right click. Select Fill and Stroke and click ... Locate the option
  5. pattern in the window that opens. (Is a box filled with rombitos) and click ... Now
  6. drag the nodes and / or create new , as needed, around the piece of figure we want to use.
Here is the link with detailed explanation da Ana

Here are other examples of what can be done with the stars.


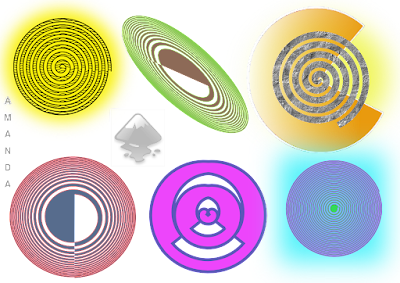
The following was made with the tool create spirals. "
I worked values \u200b\u200bvarying around, divergence and internal radio displayed on the tool bar. Then I painted
Observe
also take the opportunity to use the tool to enter text.

Here again the apple.


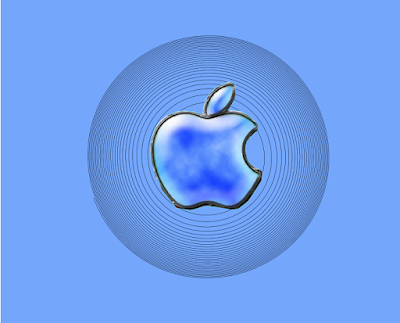
I leave the following screen to observe the tool bar "to create spiral" in which parameters are achieved.

I have noticed that there are infinite possibilities offered by the two tools
cited. The task was fun!

Greetings to all. Keep in touch.

Friday, April 9, 2010

Recording Workstation Desk

TIDSL103 - Exercising several tools Inkscape.


The purpose of the task was to exercise different tools Inkscape. Below

comment how it works:

1) I imported the image below.
2) Draw a red rectangle on a new layer. I painted "the same color" as the background of the image imported.

The figures cited (initial image and rectangle) were in different layers. Color to make them "equal" does the following:
  • left open the padlock of the two layers (the color you want to copy and the image we want painting.) If there are more layers you have to "close" the padlock of them all.
  • is selected with the corresponding tool, the image you want to paint.
  • are closed "all" eyes "least" of the layer having the desired color. Take the eyedropper (clicking on it), then click above the color you want to copy. Ready, They open the eyes of both layers and is painted the color figure took the dropper.

3) Then I drew the vase with the tool for Bezier curves, the shape suits you working with nodes and handles them. The painted in black color copying the original with the "dropper" again.
4) After I added the forms that decorate the vase also working with the tools previously detailed.

5) To make the white reflection bordering the vase duplicated it and I took the black color of the filling. After the stroke was painted white, it thickens and accommodation.


6) The Shadow of the floor of the vase I did draw an ellipse, I painted black and the blur.


7) The light that is reflected in the center of the vase and made up the drawing and "blurring" small pieces of white figures (some have more than one bit overlay).

8) Finally the vases that are front and back of the black vase realized by copying and pasting in different layers, the first pitcher I drew. I changed the fill color and you got the "opacity."


I hope you like it done. Health and safety
exercising.

Monday, April 5, 2010

Full Sew In Weave With Side Fringe

SigueMiLink Webcomic: Unfollow

A webcomic to release a little stress of programming ... Enjoy! :)
  • Click on image to enlarge