E. CONFERENCES PHYSICS EJEA MORE INTENSE COLORS
The weekend past, conferences were held in provincial physical education Ejea de los Caballeros.
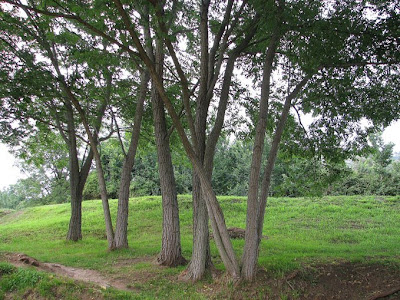
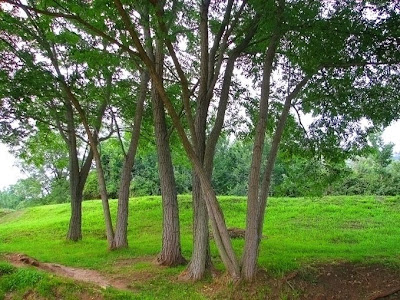
As in almost every day, and after the morning presentations and afternoon workshops, evening comes ........ Here I leave some of the photos that I have been coming in of those nights "Ejeanas" ...
The chronicle of the days the count Edu on his blog that has more patience and more time than I to write ("nosoloef.blogspot.com)
.... IN THE NEXT SEPTEMBER IN HUESCA!
Saturday, June 14, 2008
Wednesday, June 11, 2008
The Reader's Edge French?
Although I have not much time, I've found shortie but impressive this tutorial to intensify the color of our photos.
Often we can find a few images with vivid colors. This retouch these images will gain strength through greater color saturation.
The process to follow is:
1. Open the original image.

2. Duplicate layer (Ctrl + j)
3. Image / Adjustments / Hue-Saturation. Adjust the Saturation to 55.
4. Filter / Noise / Median. Set the radius to 4.
5. Filter / Blur / Gaussian Blur. Set the Radius to 3.
6. Change blending mode of the duplicated layer to Color.
7. Changing the Opacity percentage duplicate layer you can adjust the color saturation of the final image.

Sunday, June 1, 2008
Rotel, Veveeta, Chicken, Pasta
ORTON EFFECT
The method was developed by Michael Orton Orton, famous photographer of nature and landscape photographs provided its an unreal with a touch of romanticism. To achieve this effect in analog, shot two photographs. One very focused with apertures between f16 and f22, and overexposed two steps. And the other out of focus with large apertures between f2.8 and f4, and overexposed one step. Then he would have what is called the Sandwich Orton, hitting each other.
But let's see how to get this effect digitally using Photoshop.
first thing we to know is that this effect does not get along with all the photographs. Works well with some photographs of nature and landscape full of color and elements. Can also be used for portraits, but be careful not to use too much, especially in the skin.
1.-Open the photo, duplicate the background layer and rename it as "Focused."
2.-Create another duplicate layer of the layer "Focused." And we changed the blending mode to Screen. (We have 3 layers)
3.-Selected "copy of Focus" merge it down.
4.-Selected
layer "Focused" and duplicate it rename it to "Out of Focus." 5.-A
this we applied a Gaussian blur filter. According to the resolution of the image you're using, we'll add more or less blur. We can start from a radius of 12 and we value playing without completely losing the details in that layer.
Filters> Blur> Gaussian Blur
6.-Change the blending mode of layer "Out of Focus" to Multiply.
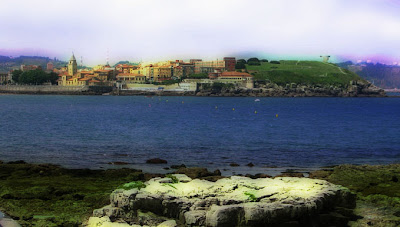
And now we can play with the curves, brightness and contrast levels or anything else. In the resulting picture I have applied some curves and a bit of brightness:
and ready.!
As always, I hope you like it.
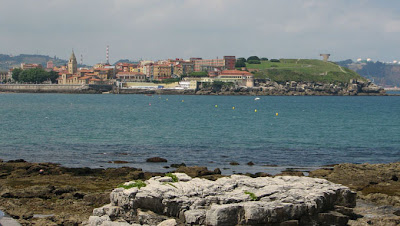
I leave before and after study with a photo Gijon Beach ...


Subscribe to:
Comments (Atom)